


Automate Cloud Infrastructure with GitHub Actions and Terraform: A Step-by-Step Guide


Introduction:
Are you tired of manually provisioning and managing your cloud infrastructure? Do you want to streamline your deployment process and reduce the chance of errors? Look no further! In this step-by-step guide, we'll show you how to automate your cloud infrastructure using GitHub Actions and Terraform. With this powerful combination, you can achieve faster, more reliable deployments and free up time for more important tasks.
Cloud infrastructure automation has become essential in modern software development. By treating infrastructure as code, we can leverage tools like Terraform to provision and manage resources consistently and efficiently. GitHub Actions, on the other hand, provides a flexible and scalable platform for automating software workflows. By combining these two technologies, we can create a seamless infrastructure deployment pipeline.
Prerequisites:
Before we begin, make sure you have the following prerequisites in place:
- An AWS account:
We'll be using AWS as our cloud provider in this guide. If you don't have an AWS account, you can create one for free at aws.amazon.com.
- A GitHub repository:
Create a new repository or use an existing one to store your Terraform code and workflow configuration files.
- Terraform installed locally:
Install Terraform on your local machine by following the instructions in the official Terraform documentation at learn.hashicorp.com/terraform/getting-started/install.html.
- Basic knowledge of Terraform:
Familiarize yourself with the basics of Terraform, such as writing Terraform configuration files and running Terraform commands. If you're new to Terraform, you can learn the fundamentals at learn.hashicorp.com/terraform.
Step 1: Setting Up GitHub Actions:
To get started, we need to enable GitHub Actions in our repository. Follow these steps:
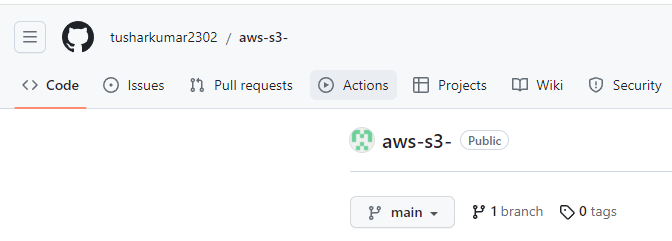
- Open your repository on GitHub and go to the "Actions" tab.
- Click on the "Set up a workflow yourself" button to create a new workflow file.
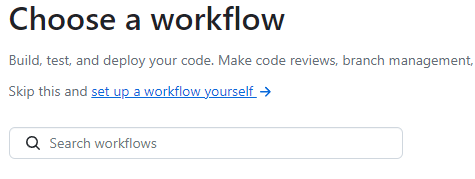
- Name the file main.yml or any other name of your choice.

- Replace the default content with the following code:

This code sets up a basic GitHub Actions workflow that runs Terraform commands on every push to the main branch. It checks out the repository, configures AWS credentials, installs Terraform, initializes the Terraform workspace, and performs a plan, apply, or destroy operation depending on the event.
- Save the file and commit it to your repository.
Step 2: Writing Terraform Configuration:
Now that we have our GitHub Actions workflow in place, let's write a simple Terraform configuration to provision an AWS S3 bucket. Create a new directory named terraform in the root of your repository and create a file named main.tf inside it.
Add the following code to the main.tf file:
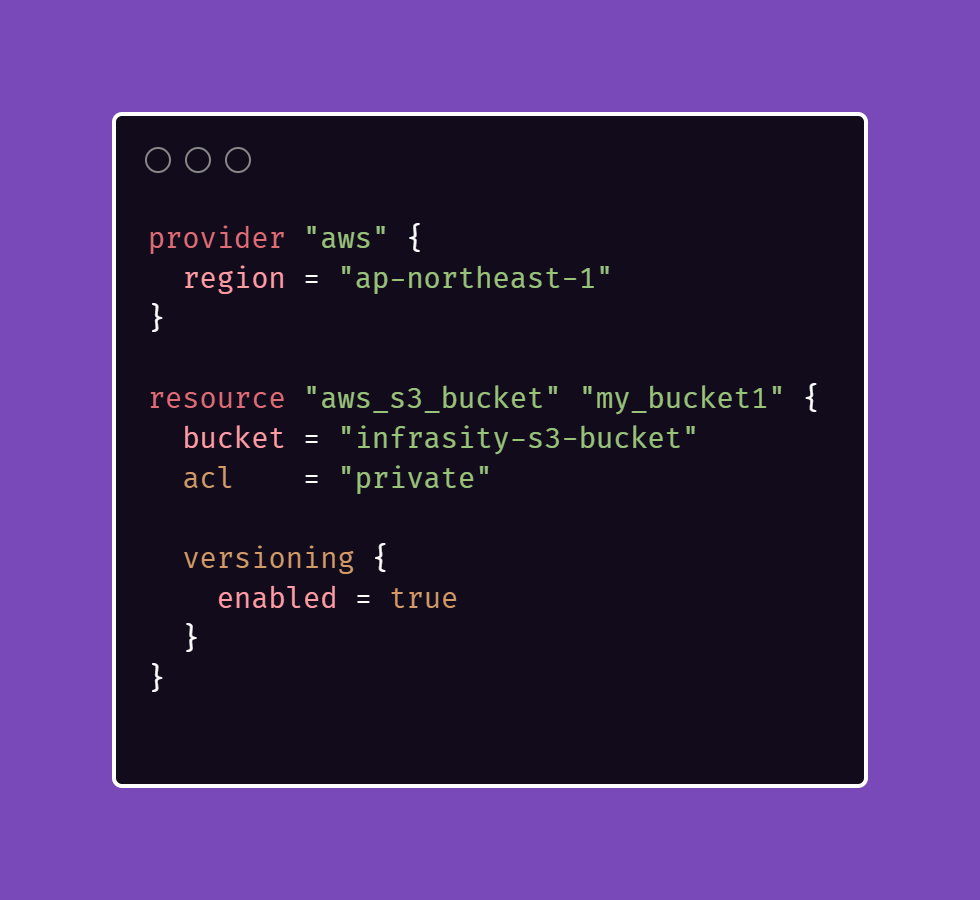
In this example, we're using the AWS provider to create an S3 bucket named "infrasity-s3-bucket" in the ap-northeast-1 region. We also enable versioning for the bucket.
Step 3: Deploying Infrastructure:
With everything set up, it's time to deploy our infrastructure using GitHub Actions. Follow these steps:
Commit and push the changes to your repository.
GitHub Actions will automatically trigger the workflow defined in the main.yml file.
Navigate to the "Actions" tab in your repository to view the workflow runs.
Open the latest workflow run and monitor the progress of each step.
Once the workflow completes successfully, check your AWS account. You should see the newly provisioned S3 bucket.
Step 4: Saving Secrets in GitHub Repository:
To securely store sensitive information, such as AWS access keys or API tokens, we can use GitHub Secrets. These secrets are encrypted and can be accessed by your GitHub Actions workflows when needed.
Follow these steps to save secrets in your GitHub repository:
Open your repository on GitHub and go to the "Settings" tab.
In the left sidebar, click on "Secrets" to access the repository's secrets management.
Click on the "New repository secret" button to add a new secret.
Enter a name for the secret, such as "AWS_ACCESS_KEY_ID", and provide the corresponding value in the "Value" input field.
Click on the "Add secret" button to save the secret to your repository.
Repeat the above steps for any additional secrets you need to store, such as "AWS_SECRET_ACCESS_KEY".
Once you've saved your secrets, you can reference them in your GitHub Actions workflow.
Step 5: Updating GitHub Actions Workflow to Use Secrets:
To use the saved secrets in your workflow, you need to update the workflow file (main.yml) created in Step 1. Follow these steps:
Open the main.yml file in your repository.
Locate the section where AWS credentials are configured. It might look similar to this:
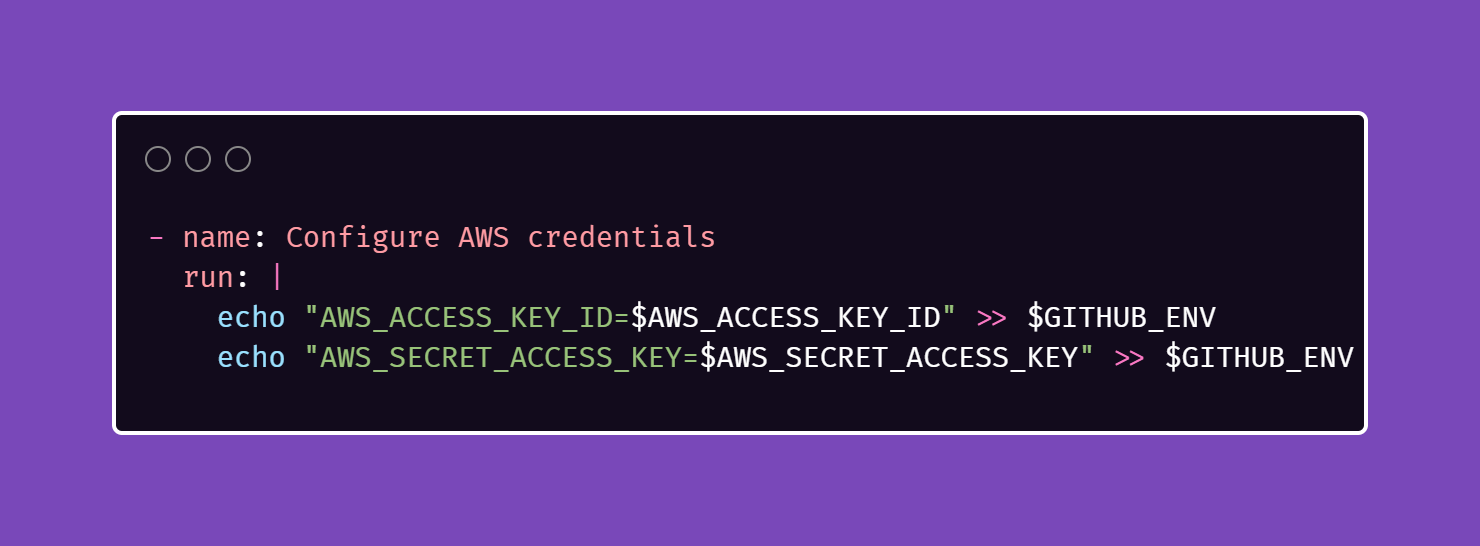
- Replace the hard-coded values with references to the corresponding secrets:

By using the syntax ${{ secrets.SECRET_NAME }}, the workflow will fetch the values of the specified secrets from the encrypted store.
- Save the file and commit the changes to your repository.
Now, when the workflow runs, it will securely retrieve the required secrets and use them for authenticating with AWS.
Remember to use secrets sparingly and only provide access to the necessary permissions for your workflows. It's important to follow security best practices and regularly review and rotate your secrets to maintain a secure infrastructure.
By incorporating secrets into your GitHub Actions workflow, you can automate your cloud infrastructure while keeping sensitive information protected.
Conclusion:
In this guide, we've learned how to automate cloud infrastructure provisioning using GitHub Actions and Terraform. By leveraging infrastructure as code and continuous integration, we can streamline our deployment process, reduce manual effort, and minimize errors.
By setting up GitHub Actions in our repository, we created a workflow that runs Terraform commands whenever there's a push to the main branch. This ensures consistent and efficient provisioning of resources. We configured AWS credentials, installed Terraform, and executed essential commands like initialization, planning, applying, and destroying.
We wrote a simple Terraform configuration file to provision an AWS S3 bucket. This example demonstrated how to define the bucket's name, access control list (ACL), and enable versioning. You can customize this configuration to include additional resources and configurations based on your needs.
Deploying the infrastructure was as simple as committing and pushing the changes to our repository. GitHub Actions automatically triggered the workflow, and we monitored the progress through the "Actions" tab. Once the workflow completed successfully, we verified the provisioned S3 bucket in our AWS account.
By automating our cloud infrastructure with GitHub Actions and Terraform, we achieved faster and more reliable deployments, freeing up time for more important tasks. This approach offers benefits such as increased deployment speed, reduced manual effort, and improved consistency and reliability.
Remember to explore further and customize the workflow to fit your specific requirements. You can integrate with other services, add advanced Terraform features, and incorporate infrastructure testing and validation steps. Continuously refining and expanding your automation pipeline will unlock even more efficiency and reliability in your cloud infrastructure management.
Now that you have the knowledge and tools, it's time to take control of your cloud infrastructure and automate it with GitHub Actions and Terraform. Start automating today and enjoy the benefits of streamlined deployments and more time for important tasks.